Professional drywall repair and seamless texture matching for Bellingham & Whatcom County homes — structural fixes and finish work that hold up and don't show.
Most drywall damage isn't random. It tells you something about the house — and knowing why it happened changes how it should be fixed, and whether it'll come back.
Stress cracks at corners & seams
Usually seasonal. Drywall, framing, and fasteners expand and contract at different rates as humidity and temperature shift through the year. Cracks that recur above doors and windows, or where the ceiling meets the wall, are movement cracks. Filling them without addressing the joint is why they reopen.
Water damage & staining
Brown rings, soft spots, and bubbling mean moisture reached the gypsum core. Once the core is compromised it doesn't recover — it has to be cut out. Painting over a water stain without finding the source guarantees it comes back, often with mold behind it.
Doorknob holes & impact damage
Clean holes with no backing behind them. A proper repair needs new solid backing — not just a mesh patch bridging a void that will crack or push through later.
Nail pops & screw pops
The fastener backs out as framing dries and shrinks. Refilling the dimple doesn't fix it — the fastener has to be reset or supplemented so it doesn't push through again.
Failed DIY repairs
Lumpy patches, mesh tape ghosting through paint, sanded-through paper, mismatched texture. Often more work to correct than the original damage, because the failed patch has to be undone first.
The Anatomy of a Flawless Repair
"We fix it" isn't a process. Here's the actual sequence, and why each step matters.
Dust isolation & site protection
Drywall sanding produces fine gypsum dust that travels through a house and settles for days. Before we open a wall, we isolate the work area — plastic containment, zippered barriers where needed, floor and furniture protection, and HEPA-filtered vacuum sanding instead of open sanding wherever the repair allows. Containment is planned before the first cut, not improvised after.
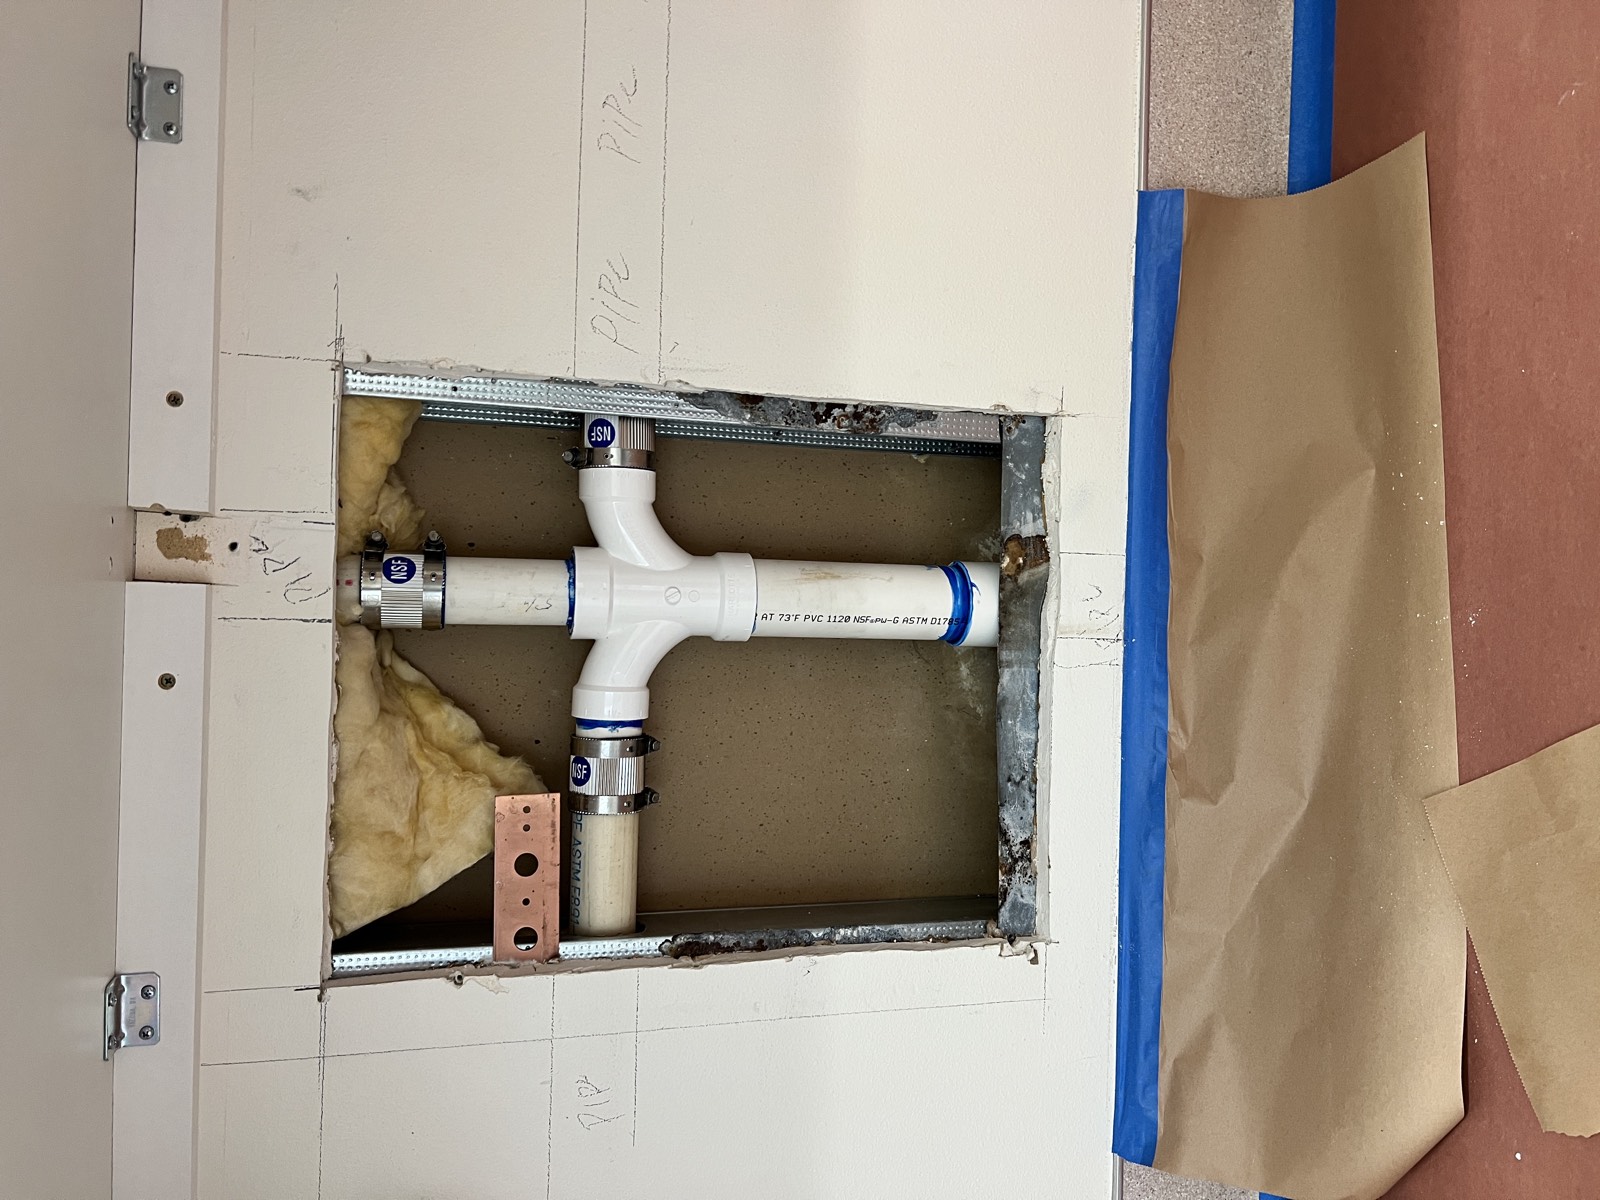
Substrate assessment
Before patching, we square off the damaged area to sound material and look at what's behind it. We check for the things that turn a small repair into a recurring problem: active leaks, previous moisture, compromised insulation, loose or missing backing, and fasteners that have backed out. If there's a water source, it gets identified before we close the wall.
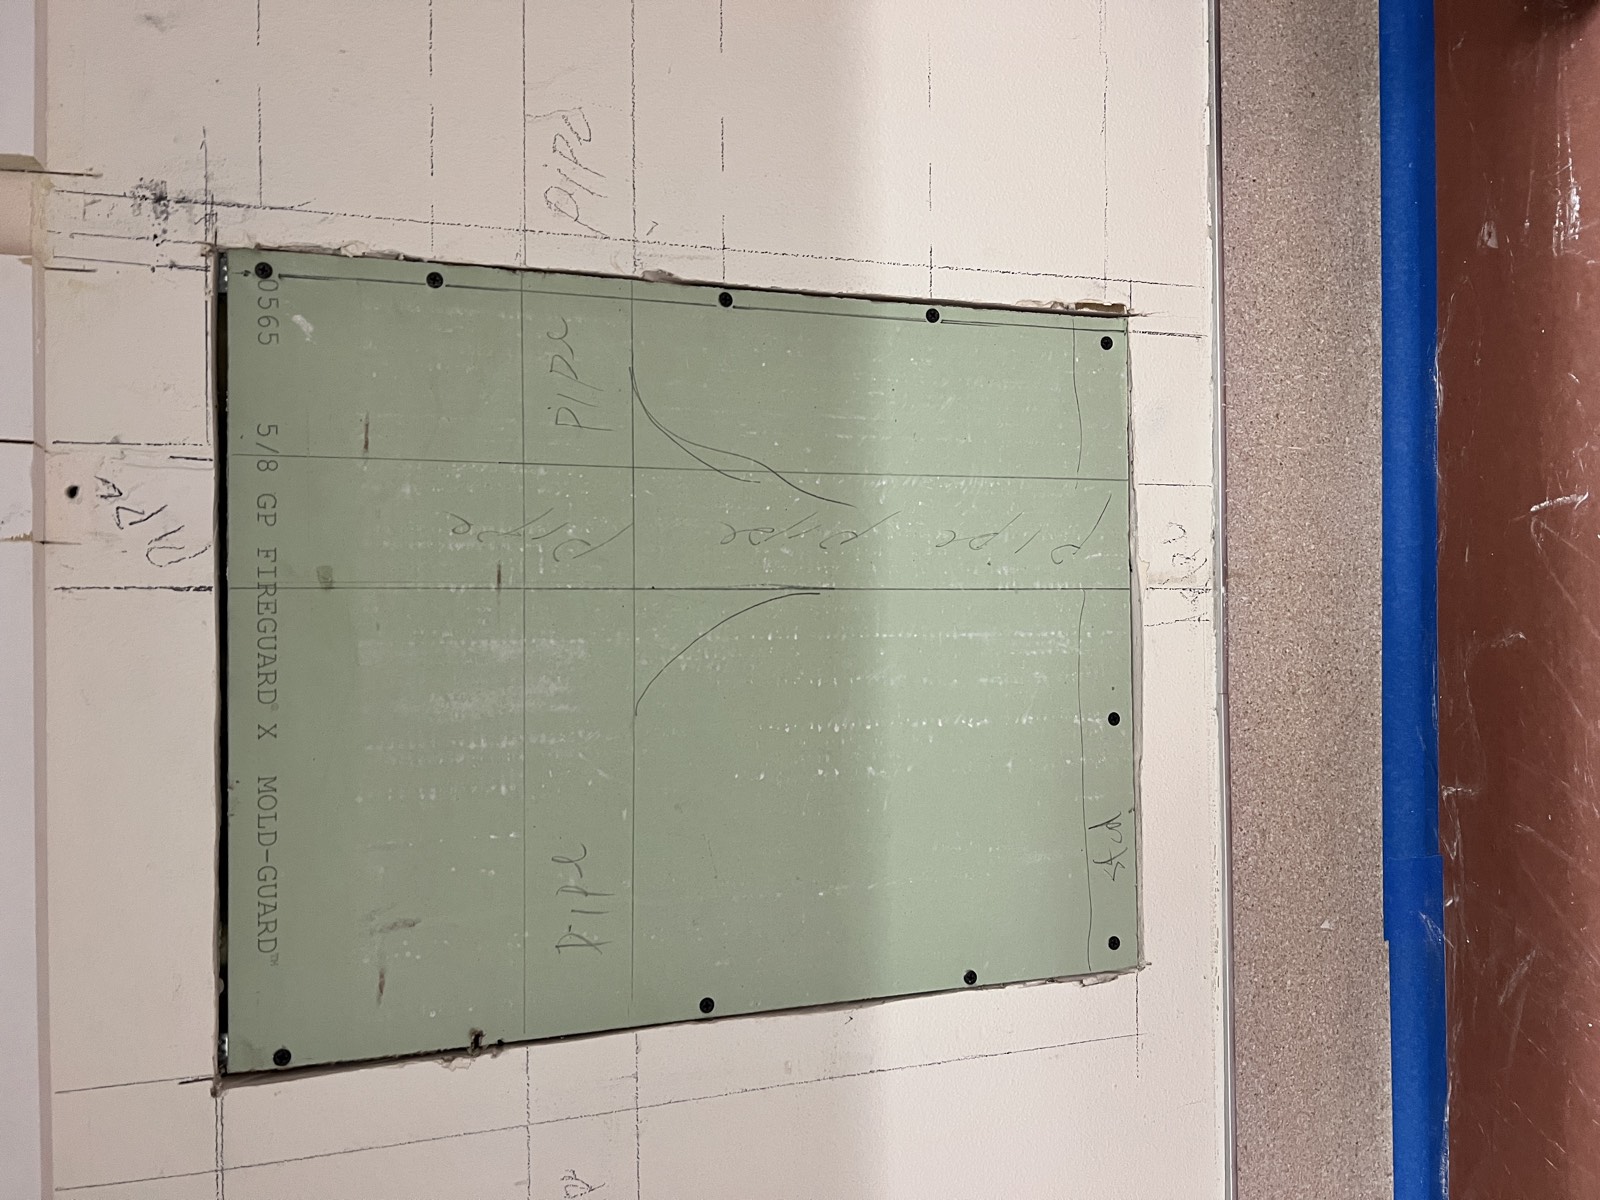
Backing & the right tape
A patch is only as good as what's behind it and what ties it together. Open holes get solid backing so the patch has something to bond to. We use paper tape on inside corners and seams that need crack resistance — it's stronger in tension. Self-adhesive mesh has its place on flat butt joints bedded in setting-type compound. Using mesh where paper belongs is a common cause of cracks reappearing.
The right compound for the right coat
We use setting-type compound ("hot mud") for the structural coats — it chemically cures rather than air-drying, shrinks less, and bonds harder, so it fills depth and builds strength. Lightweight finishing compound goes on the final coats because it feathers and sands to a flat, paint-ready surface. Using one compound for everything is a shortcut that shows up later as cracking or shrinkage.
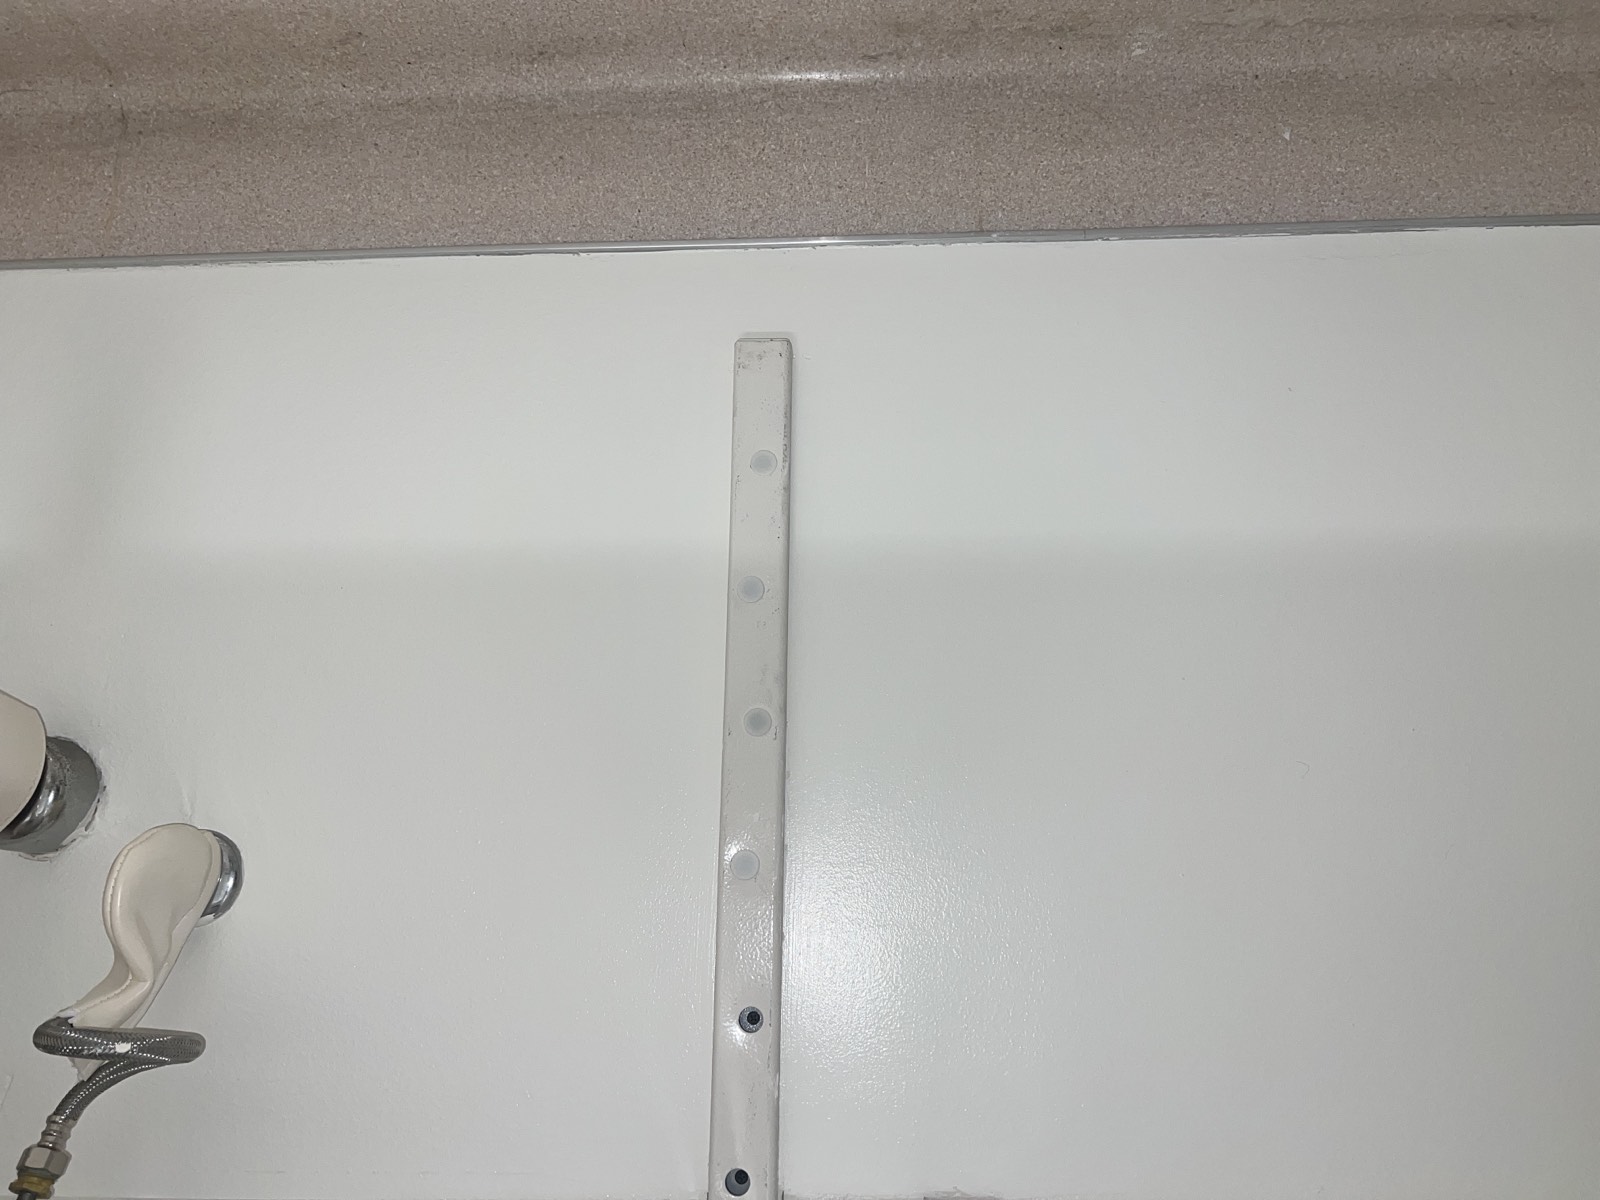
Feathering & the repair plane
A patch that's flat to the touch can still show as a shadow under side lighting if it isn't feathered wide enough. We blend compound well beyond the repair — typically 8 to 12 inches or more per side — so the transition from patch to existing wall is invisible across the whole plane, not just at the seam.
The art of texture matching
This is where most repairs give themselves away — a perfectly flat patch in a textured wall is as obvious as the original damage. Orange peel, knockdown, skip-trowel, and smooth (Level 5) each require a different tool, mix consistency, and technique. Matching means reading the existing texture — the size of the splatter, how heavily it was knocked down, the direction of trowel marks — and reproducing it so the repair reads continuously with the wall around it.
Priming to prevent flashing
Raw joint compound is far more porous than the painted wall around it. Paint applied directly over it dries to a different sheen and shows through as a dull spot — "flashing." We prime every repair with a dedicated drywall primer to equalize porosity, so the topcoat lays down uniform with no visible patch under the paint.
What Separates a Professional Repair
Containment first. Dust control is planned before the first cut, not cleaned up after.
Feathered, not just filled. Repairs blended wide enough to disappear under raking light.
Right material for each coat. Setting compound for strength, lightweight for finish, the correct tape for the location.
Texture read and reproduced. Not "close enough" — matched to the surrounding wall.
Primed before paint. Every repair sealed to prevent flashing.
We find the cause. Recurring cracks and water damage get diagnosed, not just covered.
Licensed & insured. WA Contractor License ELLWAPL779QL. General liability and workers' comp carried.
Frequently Asked Questions
How do you keep drywall dust from getting all over my house?
Containment is the first step, not the last. We seal off the work area with plastic barriers, protect floors and furniture, and sand with HEPA-filtered vacuum sanders wherever the repair allows instead of sanding into open air. Fine gypsum dust is the biggest complaint with drywall work, so we plan for it before we open the wall.
Can you match my existing wall texture exactly?
In the large majority of cases, yes — orange peel, knockdown, skip-trowel, and smooth (Level 5) finishes. Matching depends on reading the existing texture and reproducing the same tool, mix consistency, and technique. Heavily stylized or hand-troweled textures are the hardest, and we'll tell you honestly during the estimate how close we expect to get rather than promising perfection and hoping.
Do I need to clear out the entire room before your team arrives?
No. We appreciate small, breakable, and valuable items being moved if it's easy, but moving and protecting furniture is part of the job. We cover and isolate whatever stays in the room.
Can you repair drywall that has suffered past water damage?
Yes — but the first step is the water source, not the drywall. Compromised gypsum has to be cut out because the core doesn't recover once it's been wet, and if there's any sign of mold or an active leak, that gets addressed before we close the wall. Patching over unresolved moisture just hides the problem until it returns.
Will the repair still be visible after painting?
That's the entire goal — it shouldn't be. Proper feathering, texture matching, and priming to prevent flashing are what make a repair disappear into the wall. If a repair shows after paint, one of those steps was skipped.
Do you paint the repaired area too, or just patch it?
Either. Many repairs are part of a larger paint project and integrate seamlessly into the finished wall. Others are standalone patches you'll paint yourself — in that case we leave the repair primed and paint-ready.
Get a Professional Assessment
Most drywall problems are straightforward to fix correctly — and frustrating to fix twice. If you've got cracks that keep coming back, water damage you want handled right, or a patch job that needs undoing, we'll come look at it and tell you honestly what it needs.
Serving Bellingham & Whatcom County. Licensed (ELLWAPL779QL), insured, and used to working in homes people actually live in.